All Body Panels will be made out of Aluminium. I will use 1mm 99.5 Aluminium Panels for all sills, where no strength is necessary and 2mm Panels for everything else.
Tooling wise a vice, a sandbag and hammers some dollies, a wheeling machine and a bead roller is what I have on hand.

To start I made a layout out of thick soft paper which I found at the local hardware store as painting cover. As it is soft enough to lean into edges the templates for cutting could be made quickly.
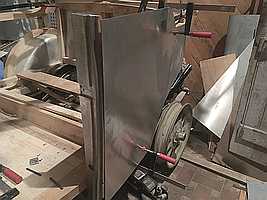
For the real deal I started with the aft panel and will
work myself forward.
Always left and right at the same time starting on one panel on the right side, the next panel on the left side.
All panels exept of the sills have a slight curvature. I think those very gentle curves are harder to make than deeper curves which are a bit more forgiving.
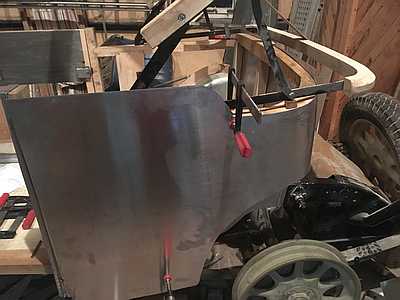
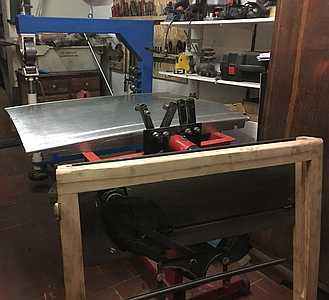
The panel include beaded stripes. To make those I turned a special roller.
But even rolling with the greatest care along a sharp sribed line the beads became a bit wobbly as they supposed to be dead straight.
I correct that with a square steel block and hammer that, finally using a body file –the 2mm is not needed there anyway…
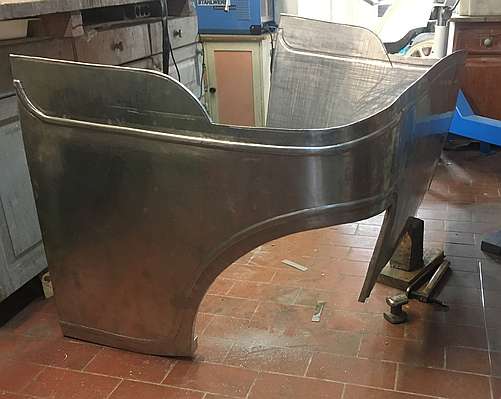
Here the finished aft panel with the beads. Quite rewarding. The panels are nailed on with 1.6mmx20mm stainless steel nails from a dutch company.
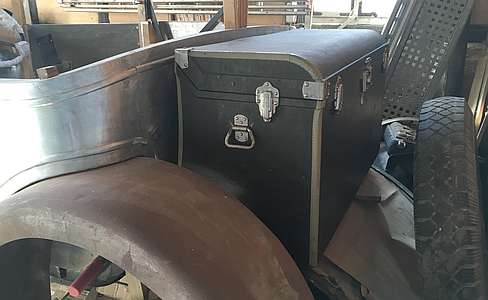
For the rear quarter I found a period matching good exterior suitcase in Switzerland. Very original.
Next the doors are paneled. That was very hard, as the curvature there is very very little. Rolling up those panels required every rolling stroke to think about, as it changes the whole panel. First I rolled up the panel, made the beads to match the rear quarter and rounded the top edge. That 2mm aluminium panel is then folded over the two sills of the door.
The hood and front panel up to the windscreen will be polished so there is no room for error…
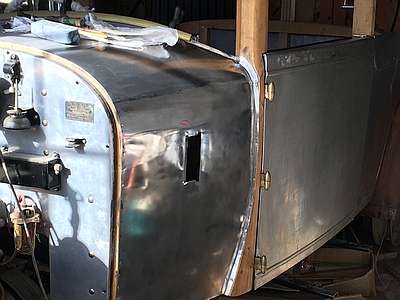
The font panel rear of the bulkhead consits out of three panels welded together.
The welds are purely TIG welded. I annealed the afterwards to release the welding stresses. Then the were pretty soft, which resulted in some unevenness. This is so subtle that I nailed the panels on right away and fixed those waviness afterwards.
As you may see, once polished every little imperfection shows. My intention is to polish it up, an let it get dull to a certain point, like on the firewall.
I my opinion this satin finish is what it would look like in the old days anyway.
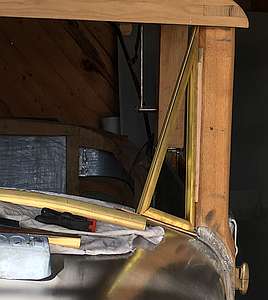
Next I bought brass U-profiles to build the front window frame. The two triangular side windows are fixed while the midlle portion opens up using the original Talbot mechanism.
